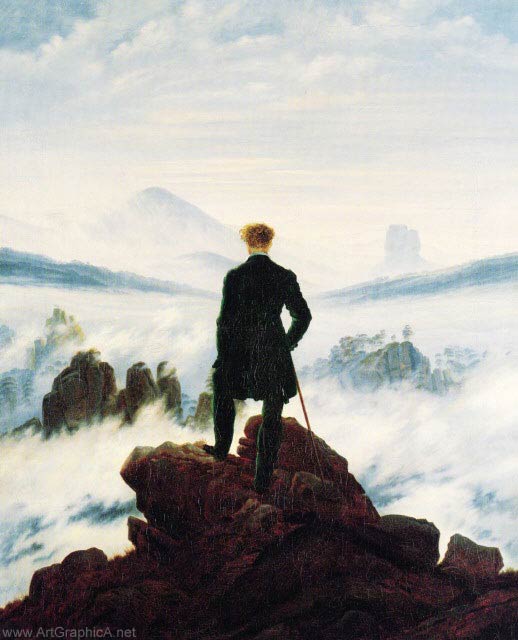
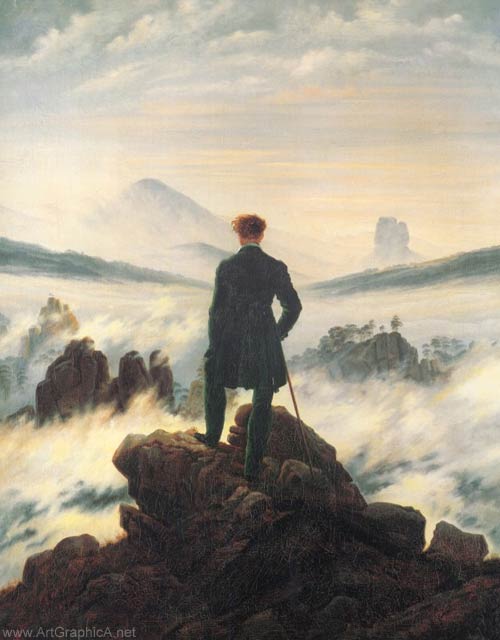
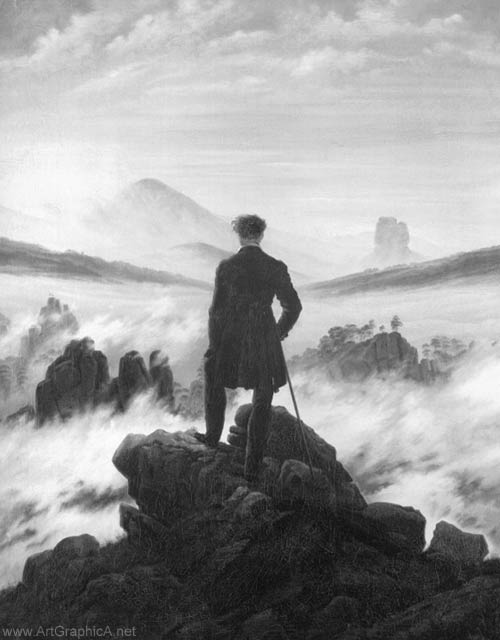
In this demonstration, I have chosen the German painter Caspar David Friedrich, and his painting "Wanderer above the sea of fog" as the source for a charcoal reproduction. Working from paintings by the old masters is an excellent way in which to develop and hone your own skills.
Caspar David Friedrich (1774 - 1840) was a German romantic painter who based his allegorical work on Northern Germany's landscapes. The dark, mystical nature of his work undoubtedly points to his history: Aged thirteen, Caspar broke through the surface of a frozen lake, and was saved by his brother who drowned in the rescue effort. Friedrich's mother had died a few years earlier in 1781, and he lost a sister another ten years later.
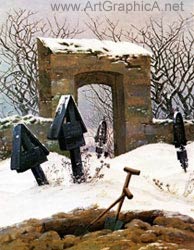
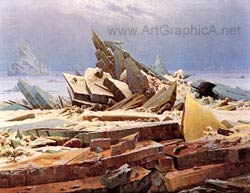
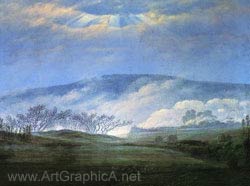
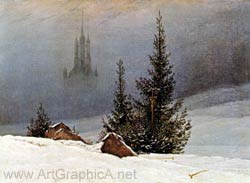
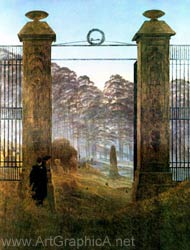
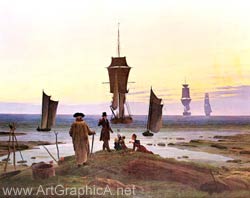
Below are a few of his oil paintings.
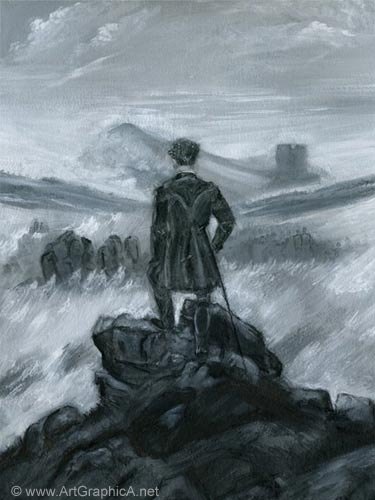
Wanderer above the sea of fog, shows a lone figure contemplating the world above the turbulent and wild mists of the landscape below. When at all possible, I recommend visiting local art galleries to try and view paintings by old masters, close up. Reproductions in books and on the Internet nearly always fall a long way short of the original, and sources vary in terms of contrast and colour. I have demonstrated this by supplying two versions of the same painting below. For the demonstration I greyscaled the better of the two (you can click the thumbnails to view a larger version), and printed a copy as a reference to work from.
Click image to enlarge
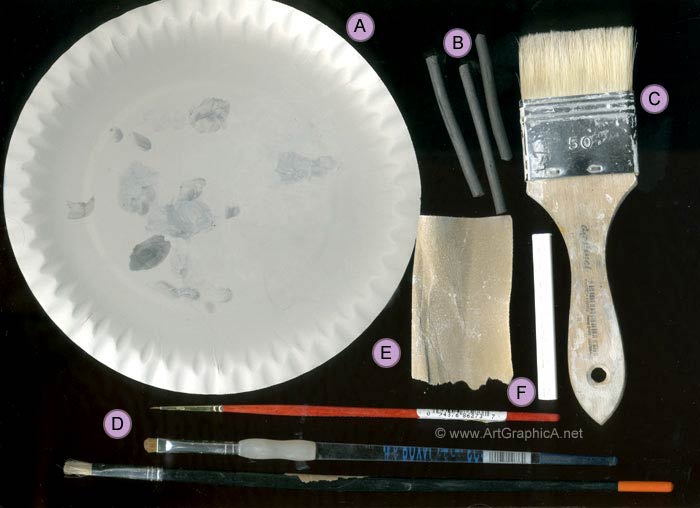
Art Materials
A - Paper plate, cheap and effective for holding charcoal powder.
B - Vine charcoal.
C - Bristle brush for applying gesso to paper.
D - Brushes - hog's hair (bristle) and small watercolour brush for details.
E - Sandpaper for grinding vine charcoal and white pastel into dust.
F - White pastel.
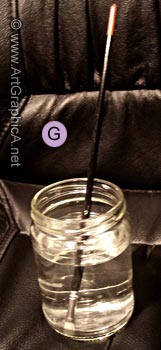
G - Jar of water
To explain the basic process before we move onto paper preparation: vine charcoal is ground into a powder, most easily done with a piece of sandpaper. This powder can then be applied using a damp paintbrush on the paper.
Vine charcoal is a cheap material made from the willow tree, and can be bought from any artshop, though becareful not confuse it with the mechanically shaped compressed charcoal. The white pastel is of a compressed nature and again is cheap and easily available in artshops (or an online art stockist). Both are ground down with the sandpaper over the paper plates, and can be picked up on the water dampened hairs of the brush.
If this is your first time using a brush, it will feel quite foreign and strange, much like using chopsticks if you're only used to a knife and fork. With a little time and practice, it does get easier. I prefer to work on an easel, but there's no reason why you can't work on a flat horizontal surface.
Paper Preparation
Paper choice is completely a personal decision. For this demo I used a 40 cm by 30 cm sheet of 300gsm Bockingford watercolour paper, removed from a pad. Even relatively thick paper has a tendency to warp when acrylic gesso is applied (more on gesso painting a while), and so I presoaked the paper to make it less resistant to buckling.
Soaking paper (click for photos - opens in new window) is an easy enough procedure. Fill up the bath tub or sink with a little water, and leave the sheet to soak for a couple of minutes, before turning it over and doing the same on the other side. When I take it out of the tub, I give it a quick and gentle wipe with a towel to remove most of the excess water, and then working quickly I lay it down on a rigid sheet of MDF board (use whatever you like - Masonite, foamboard - any rigid support should do). Still working as quickly as possible, I tape the four edges of the paper to the board with masking tape, adding extra tape across the corners as there is a danger that when the paper dries, it will break free of the tape.
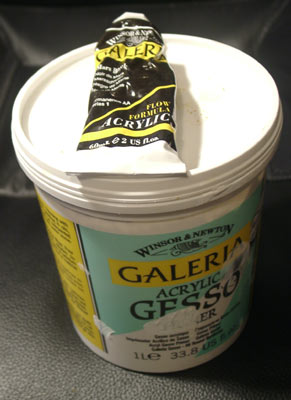
There are many brands of acrylic gesso available, most of which are fairly inexpensive, and used extensively by oil painters in preparation of their canvases (if oil paint comes in contact with canvas, wood or paper, the surface will eventually rot). I decided to use acrylic gesso, in part to add more tooth and texture to the paper, and also that I might tint the paper and so lessen some of the toning work required from the charcoal and pastel.
I mixed a little mars black acrylic paint into the white gesso and very roughly marked in the main areas of the composition by varying the amount of black in the mix. The brush I use is a cheap all-purpose one, with fairly sturdy bristles which add 'tooth' (charcoal adheres more easily to a rougher surface). Please note, that if using acrylic gesso (or any acrylic paint) you must wash your brush promptly after use. Failure to do so will result in the paint drying solidly on your brush, which you can then pretty much kiss goodbye.
Guidelines
This is just one approach of many to a drawing; often I prefer to quickly mark in the main features of a composition with a few simply lines or basic curves, not rigid or absolute, but as a guideline from which I can later refine the drawing.
Applying the brush to dry charcoal particles can result in a somewhat light and dusty mess (it can be done if you use fixative to hold the particles in place), but by dampening the brush in water it is possible to achieve a much darker and more controllable line. The amount of water to add is largely guesswork, but it gets easier to approximate and judge these things as you come to try them.
Upon marking the major features, I suggest an approximation of the lone wanderer with a few simple lines that hint at size and posture, but without any great degree of accuracy. Note, if anything does go disastrously wrong at any stage of your drawing, it is nothing a damp piece of cloth and a quick wipe can't put right.
Block In
The foreground and figure lunge out at the viewer by their dark contrast, but contained within these dark shadows lie fractured rocks and folded fabric. To establish some of these sun starved areas, I use the brush to roughly mark in a few outlines of rocks and deepen a few shadows.
Refining the Figure
Using the rough guidelines of the figure outline from the first video, I darken the outlines and better define the figure. You will notice that in my composition the rocks are a little higher and a little larger than Caspar’s painting. Some reproductions require careful observation and accuracy, but if you try to be too rigid not only can it stifle the spontaneity of piece, it can spoil the fun. With that said, I am aware that some artists revel in minute details and absoluteness. In many of Caspar’s paintings, his subjects take centre stage, contradicting normal compositional theory. Compositional theory is only a guideline, though if it were my painting, I’m not sure I would opt for a centralised figure.
Figure, Initial Block In
Once the outlines of the figure are made, I add some of the darker contrasts, sweeping the brush in the direction in which his overcoat seems to hang over his frame.
White Pastel
The white pastel is applied in the same way as the charcoal. I would recommend changing your water, and cleaning your brushes to avoid contamination from the charcoal. I keep a little puddle of water on the paper plate, and although it is soon absorbed by the plate, it does save me from having to dip the brush into the water too frequently.
Figure Completion
When the wet charcoal dries, it is lighter in value, and sometimes it is necessary to achieve the desired values by layering a few applications of charcoal to the same area. I use a larger brush for general shadows, and then take to using my small watercolour brush for details. Try to avoid resting your hand on the drawing when at all possible. If this becomes difficult, consider buying a mahl stick, or at least try to find a less volatile area on the paper and lightly rest your little finger against the page to steady your hand.
Clouds
The suggestion of clouds is quick and spontaneous – do not forget that they reflect sunlight from above, and so the tops are typically lighter by a value, or several values than the underneaths. Misty effects are easy to achieve through dabbing gestures with the paintbrush. If the pastel applies itself with too much brightness, dab at it a couple more times with the brush, or wait for it to dry and gently rub it with your finger to lessen the intensity.
Finishing
Knowing when to finish is one of the hardest parts to drawing. Generally, I like to work relatively quickly, and complete my work in a morning or afternoon if possible, or even within the hour, though some works can demand days if not weeks. In the finishing stages I try to shape the background hills a little, and subdue a few of the highlights on the figure. Once finished it is time to remove the masking tape. Sometimes the tape can be a little stubborn, and by wetting a brush then rubbing at the underside of the tape as it is being lifted, the removal of the paper surface can usually be avoided.
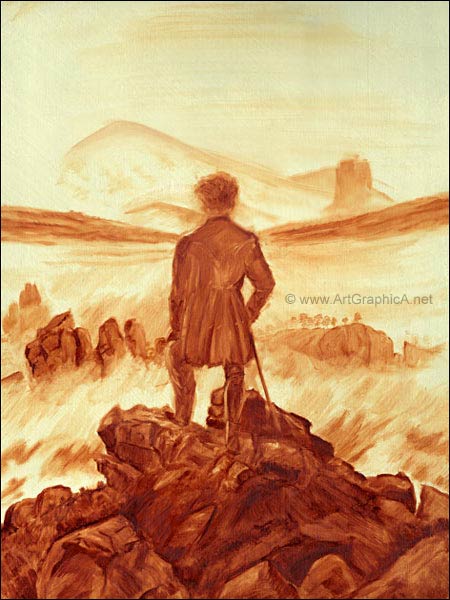
[A fairly quick underpainting made in oil paint. If you can get by using charcoal techniques with a brush, it will significantly ease your transition into a medium such as oils.]