Alla Prima Oil Painting LessonGIRL AMONGST BAMBOO |
|
Brittany. Alla Prima, Free Oil Painting Demo, Part 1 of 2 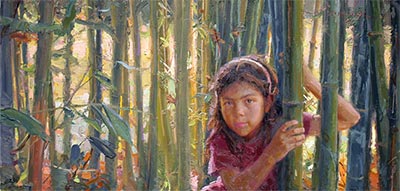 Step OneOnce I'd figured out the correct size of my canvas (26" by 50"), I started with a few basic charcoal marks to place the head and make sure I had it approximately life-size. For this painting I didn't draw out any of the features since the subject is simple enough that I can just paint and work out the details as I go. The main advantage of this approach is that it keeps you from painting up to lines and ending up with stale brushwork. To paint this way requires a great deal of drawing practice since you are basically thinking about your drawing and proportions with every brushstroke, rather than concentrating on drawing first and then painting next. 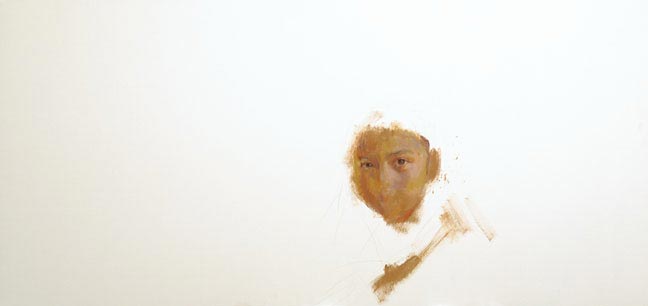 Step TwoHere you can see the underlying, large shapes that I started with. I've already started laying in the smaller shapes of the eyes over the top of the tone of the face, but you can still see the underlying shapes of the nose, mouth and chin before the details of those areas have been placed. Getting these large shapes correct before going into the details are the most essential part of your painting. 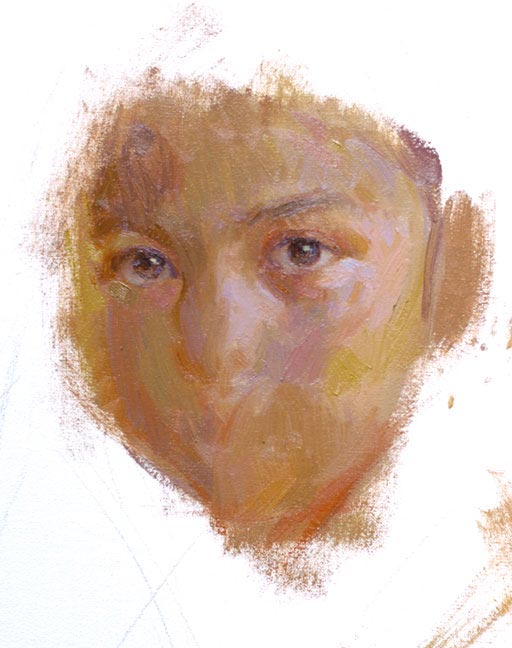 Step ThreeHere you can see the underlying, large shapes that I started with. I've already started laying in the smaller shapes of the eyes over the top of the tone of the face, but you can still see the underlying shapes of the nose, mouth and chin before the details of those areas have been placed. Getting these large shapes correct before going into the details are the most essential part of your painting. 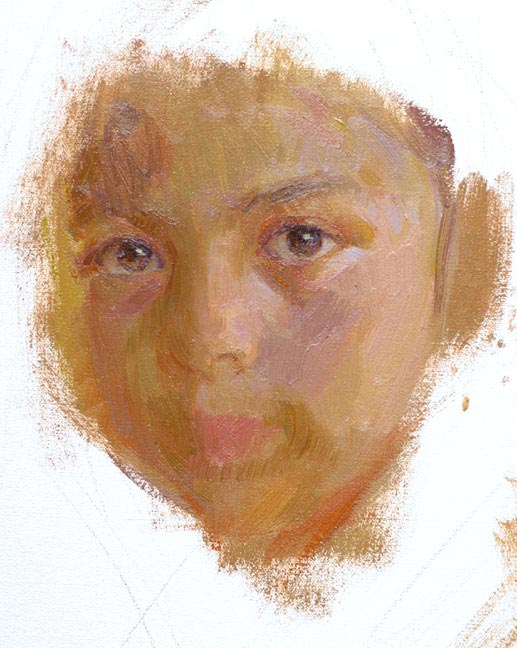 Step FourEach new element that I add is carefully compared to what's already on the canvas. To determine the exact placement of the ear, for example, I first held up my brush horizontally across the photograph and checked where the top and bottom of the ear came in relation to the eyes and nose. Then, to find out how far to the left the ear should be, I measured the distance from the side of the model's left eye to the outside edge of the ear (on the photograph) and compared that unit to portions of the face I'd already drawn. For instance, the distance from the outside edge of the model's left eye to the outside edge of the ear is the same as the distance from the outside edge of the model's left eye to the inside corner of her right eye. Since I already had the eyes worked out on the canvas, I simply used my brush to measure that distance and then made a mark where the outside edge of the ear will be. I do this constantly whenever I come to something new in a painting (especially if it is a large distance). Measuring and drawing will eventually become so natural that you do it almost without thinking and it takes but a couple of seconds. 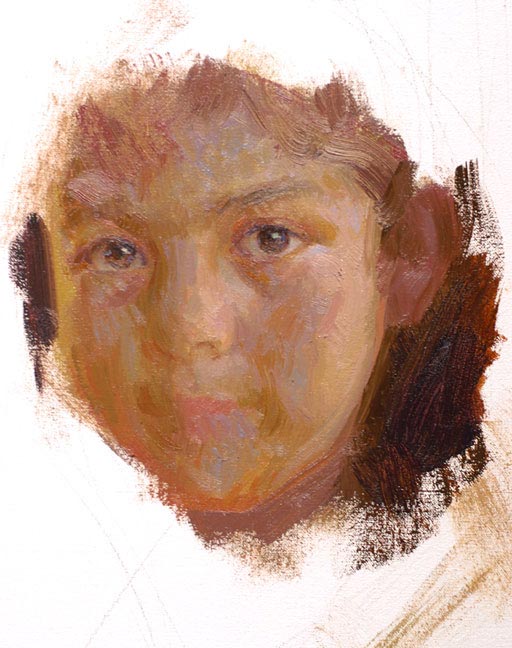 Step FiveAs I slowly define the boundaries of the face, I'm constantly holding my brush up horizontally and vertically to see where landmarks line up with things I've already painted. Notice also how nice a variety of edges you can achieve when working into paint already there. 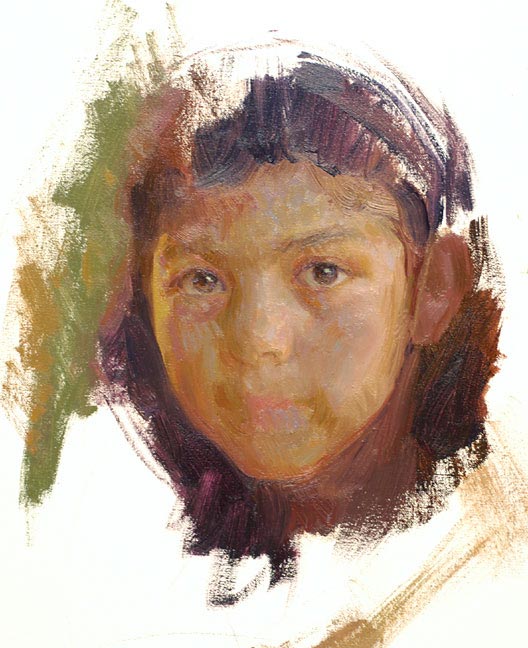 Step SixI just slowly and methodically keep working from one thing to the next. With a palette knife, I block in some red strokes for the shirt. 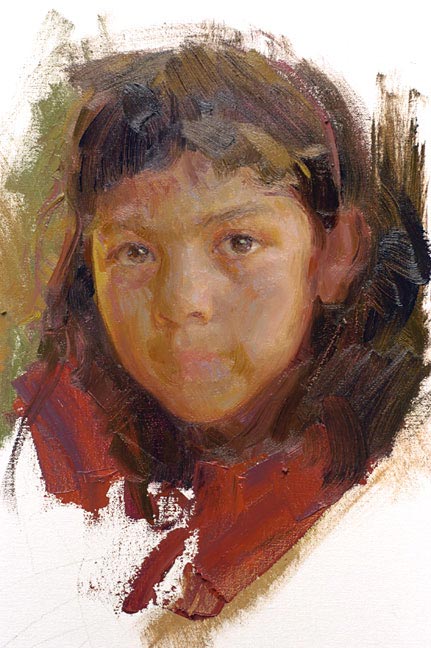 Step SevenNow I paint in the details of the lips and continue refining the features. You can leave things loose the way they were at the earlier stages or just start refining them until you have a very polished and detailed rendering. It's really just a matter of what you're going for in that particular painting. 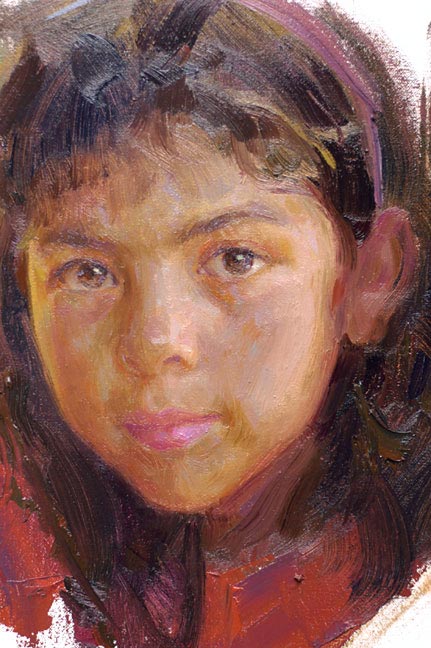 Step EightHere's a close-up of the lips and nose so you can see the brushwork. Be especially conscious when doing the darks in areas like this that are surrounded by light lest you make the accents too dark. Squint and compare them to large areas of darks. Photographs will often push many of the darks into pure black, regardless of their actual relationship in real life. Think of these small dark accents the way you would if painting a tree branch against a light sky. The thinner the branch gets, the lighter it appears because it is more and more influenced by the value of the sky around it. This is what is happening with small darks like nostrils and the accents at the corners of the lips. The same is true, by the way for lights surrounded by darks. Think, in this case, of sky holes in trees. The smaller the openings, you must actually mix up a darker color. 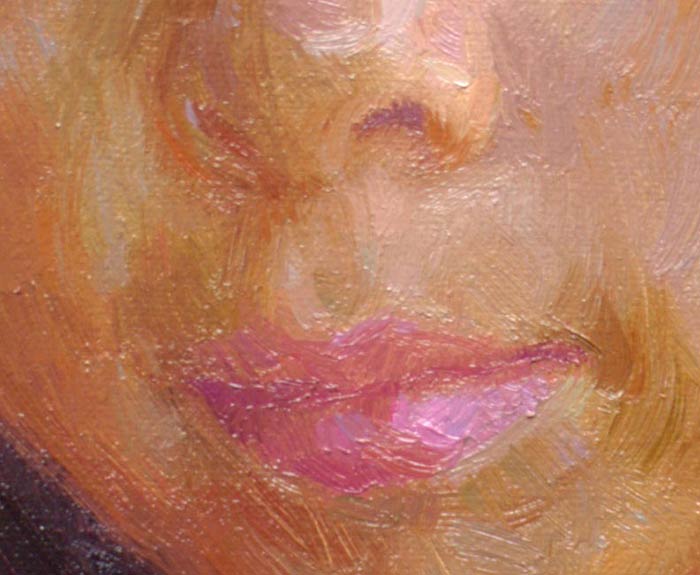 Step NineHere is the face for the most part finished, though I do end up doing little adjustments throughout the rest of the painting as I see them. 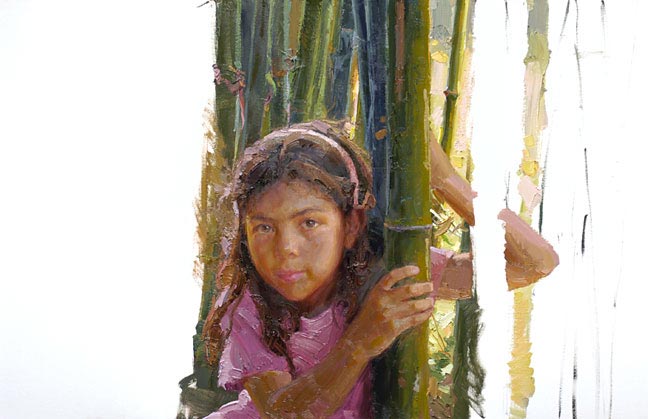 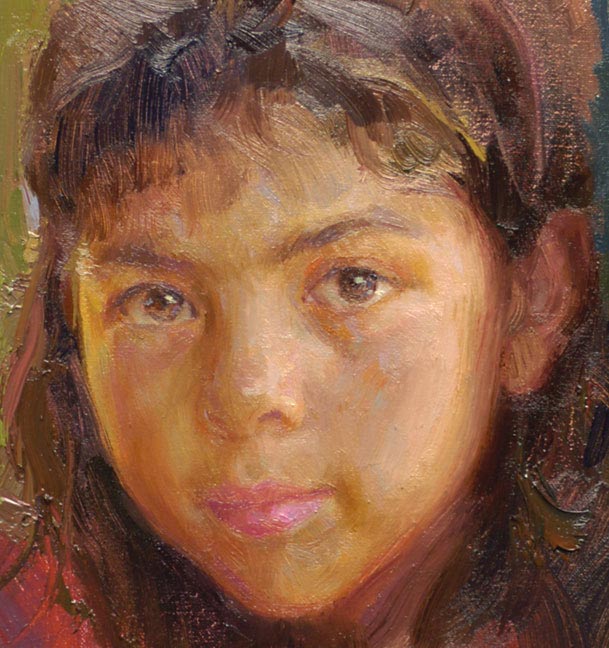 Click to View PART TWO of the Brittany oil painting lesson |
Oil Painting Lessons
Art Lessons |


