SIERRA MOUNTAINLandscape Oil Painting Lesson |
||||||||||||||||
Part 3 of 3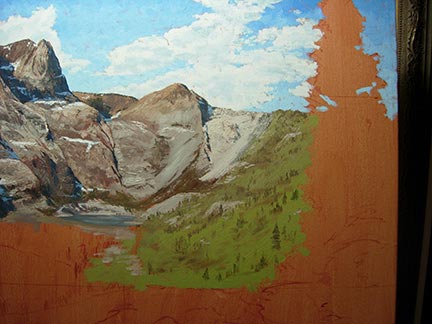
37. I now begin to concentrate on the manzanita-covered, sun-bathed area to the right of the painting. The values on this side of the "bowl" are much brighter because one, it's in the full sun, and two, manzanita is much lighter in color than the pine trees that are to the left...it is also a much lower-growing plant and will receive more top-lighting from the Sun as well adding to it's lighter appearance in the painting... 
38. I now begin to work on the shoreline of Lower Sardine Lake... 
39.>As I begin to paint the reflections in the water, I must keep mindful of several things. First, the viewer's eye is pretty high in this composition and as such will see a steep reflection in the water meaning that from this perspective one wouldn't see the entire mountain reflected, only a very small portion of the nearest ridge as the mountian recedes fairly rapidly even though it's so incredibly steep...Secondly, I have to be careful with my values, lights will be darker than the areas they reflect, and darks will be lighter than the areas they reflect in general. the closer an object to its reflection, the more closely in value that reflection will be to the object's values...I know, that's a lot to wrap your mind around...let's move on... 
40. Here's the the progress with the lake mostly done... 
41. I'm now going to move on to the "foreground" section of the painting...I paint in the tree tops that are peeking up behind the near ridge using a two value block-in process as well...I paint in the "darks" first... 
42. ...and then come back and paint in the "lights"... 
43. I continue with that process untill I have not only the tree tips peeking up from behind the ridge, but also the larger trees that are growing near the top of the ridge...I now begin to concentrate on the manzanita covered ridge itself... 
44. The large, foreground rock has a lot of texture, so once again, I'll alternate between brush and knife... 
45. As I begin to paint the rest of the ridge, I start by scumbling in a thin but darker burnt orange to bring that part of my underpainting a little more contrast giving the illusion of closer proximity to the viewer... 
46. I follow with my two-value approach, laying in the darker green value... 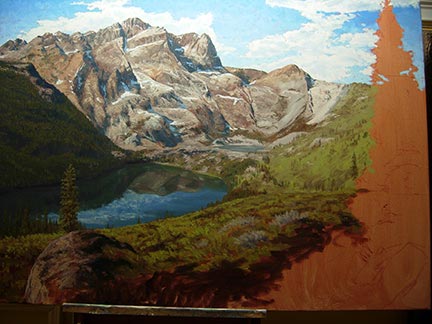
47. ...then the lighter green values and a few grey bushes and rocks... 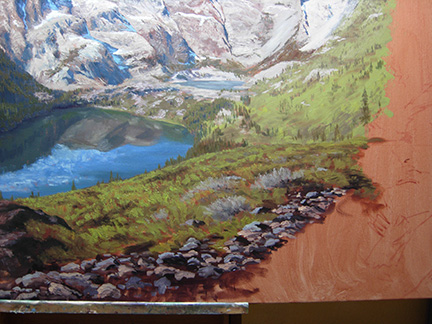
48. ...following that with some warm and cool tones in the outcropping of rocks that border the trail... 
49. Once I finish with my initial two-values, I can then go back and put in highlights and accents to finish things up... 
50. I then lay in a couple of values for the path using mostly my knife... 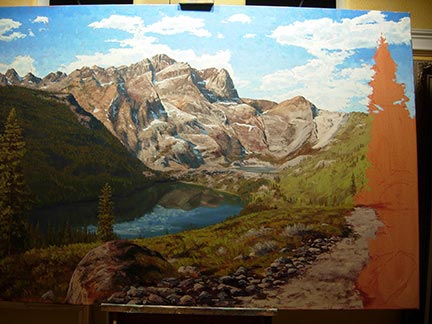
51. And here's the painting as it nears completion...I'm probably about a week away from being totally done now... 
52. I'm sure you are probably tired of the phrase "two-value" by now, but that's exactly the approach I use to paint in the remaining trees, dark under paint first,... 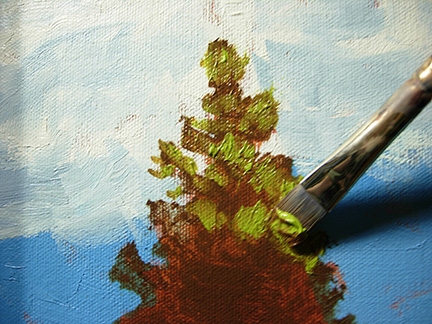
53. ...and then lighter values on top... 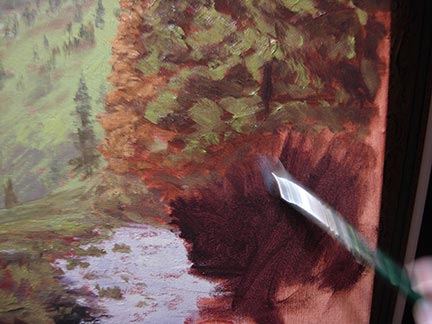
54. I paint a darker value for my underpainting in the foreground bushes to allow for more contrast once I apply the lights...things in the foreground most always have more contrast than things in the background... 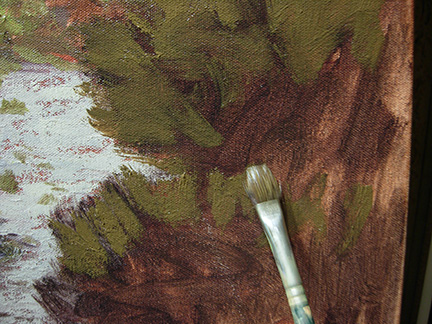
55. And here I begin with a middle value...I'll come back with highlights later... 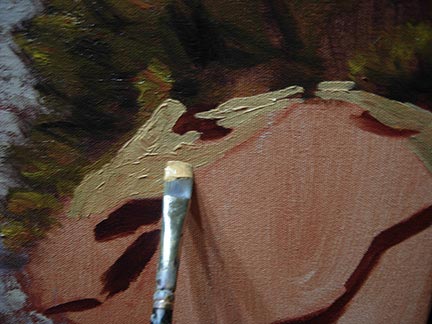
56. I've one last rock to paint, the one in the bottom corner, so I block it in and then texture it with knife, etc. as you've already seen... 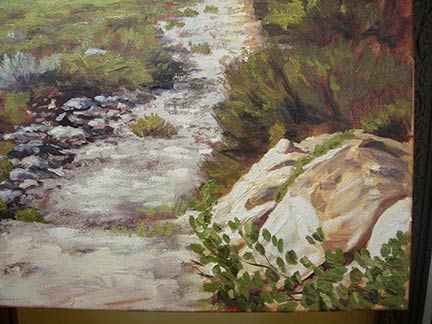
57. I then paint in the foreground foliage and am just about done...click the "continued" link below to see the finished piece... 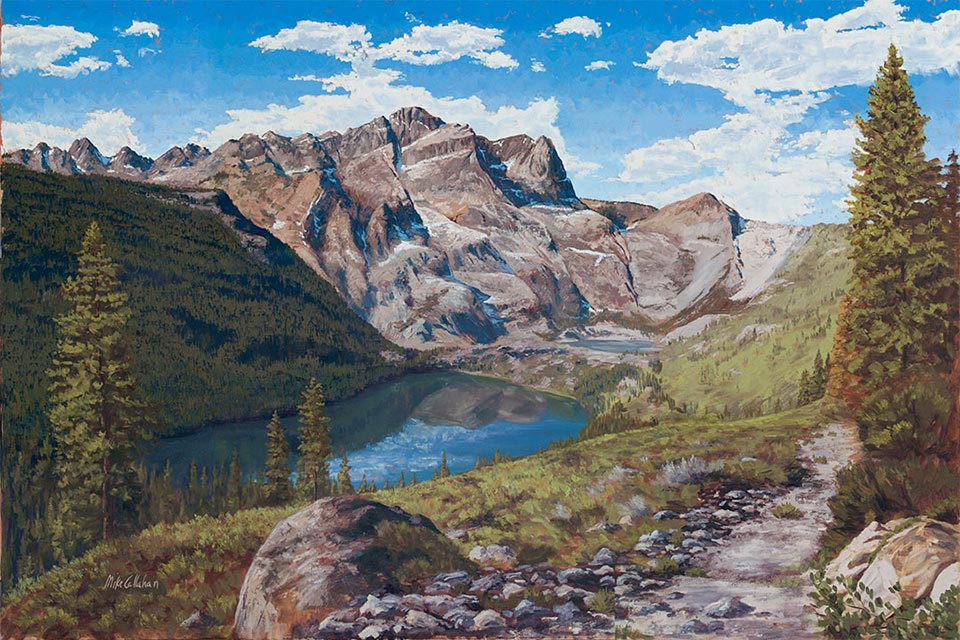
|
||||||||||||||||