How to Paint a Realistic DogPastel Painting Lesson |
|
||||||||||||||||
A Pastel Painting From Start to FinishI am using a picture of my dog for this demonstration. First, I cut a piece of suede matboard to the desired size (in this case, 10" x 20"). I always tape the matboard to a stiff piece of cardboard so I can move it easily without touching the matboard while I paint. Next, I print a good quality picture of the reference on photo paper, then tape it above my matboard. I'll be showing you pictures that include the reference because it is key to my process to see both the painting and the reference at the same time. I often walk away to take a look at the painting from a distance to check my values and the accuracy of my drawing. 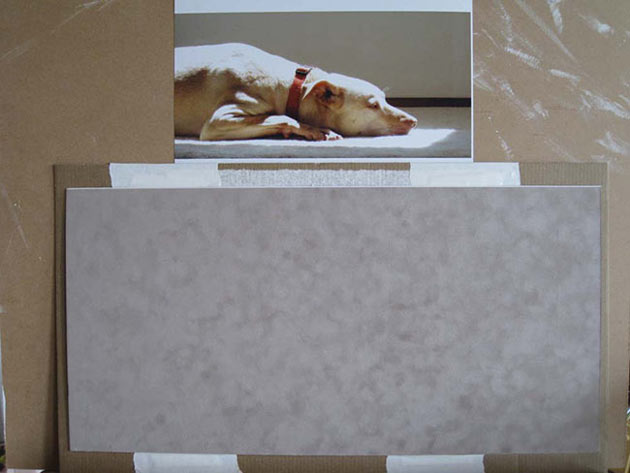
Now I'm ready to paint.
First, I pick out two pastels: a light and medium value. Starting with the light, I rough in the areas where the highlights are in the reference photo. When I feel I have the lights reasonably correct, I take the medium value and do a loose drawing using the lights as a guide. 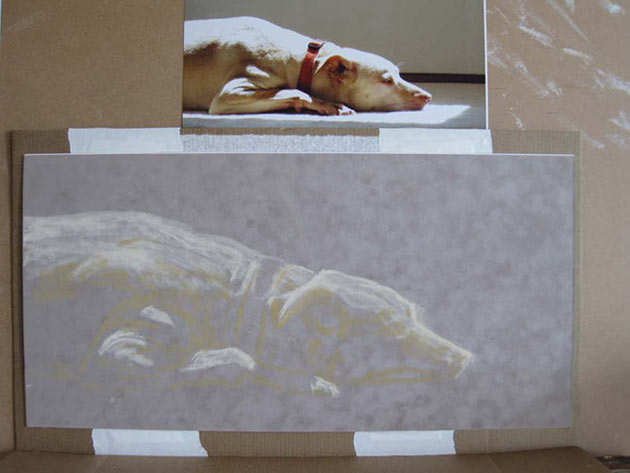
Now I pull out a couple of pastel pencils and define the drawing a bit better. 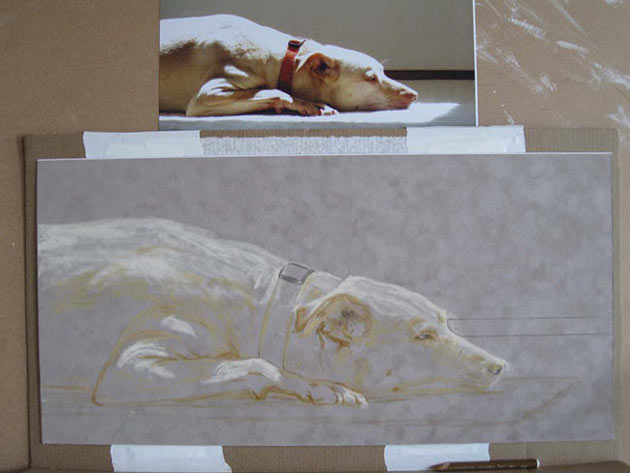
Next I block in the background above the dog. 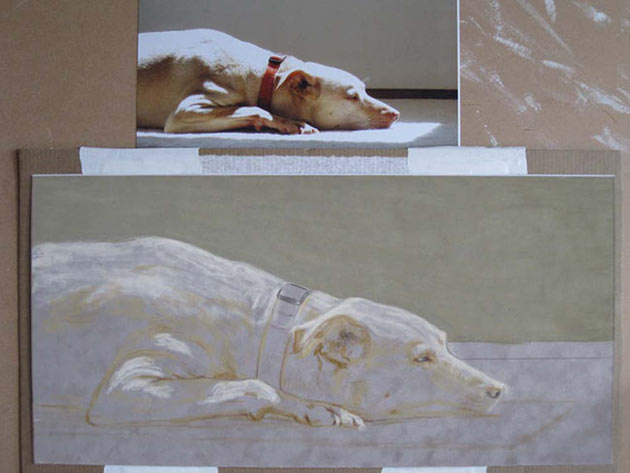
I then take a few pastels in different values and scribble in the direction of the fur. Basically I'm just working on my drawing right now. 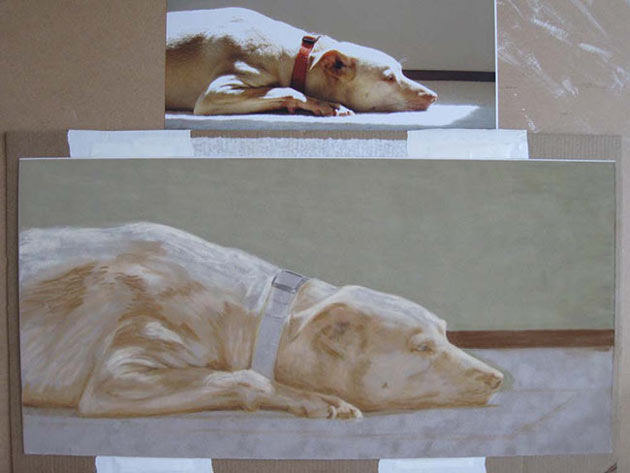
I decide the drawing is accurate enough at this point, so I block in the first layer on the collar. Then I start working in a darker value pastel. 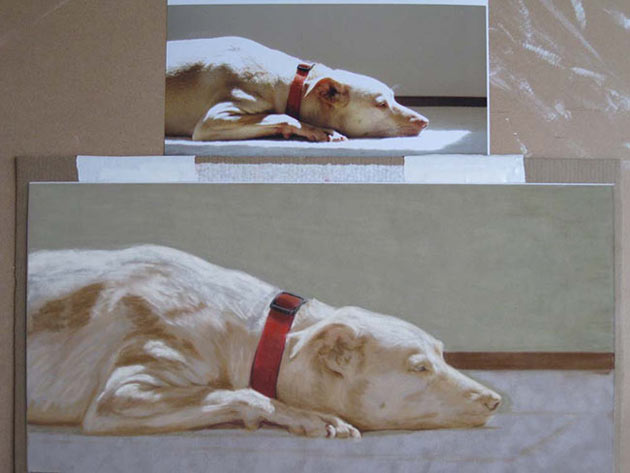
Now that my drawing is relatively accurate and I know where my dark areas need to be, I take a medium-light pastel and go over most of the dog. I want to make sure there is a base of pastel all over the fur area. I use a very light touch on some areas so I don't lose my drawing. Then I lightly rub a finger over the whole thing to blend it. 
Next I'm going to do a little glazing with pastel pencils. I want to add an orange tone to some areas. I turn the painting on its side and lightly rub the side of the pencil tip in the areas I want to tone. Sometimes I do this with pastels, sometimes with pencils, depending on how much color I want to add. I usually have a lighter touch with pencils. I work a bit around her eye, over her nose and paw. Then I rub over those areas with a finger, working the pastel into the matboard. 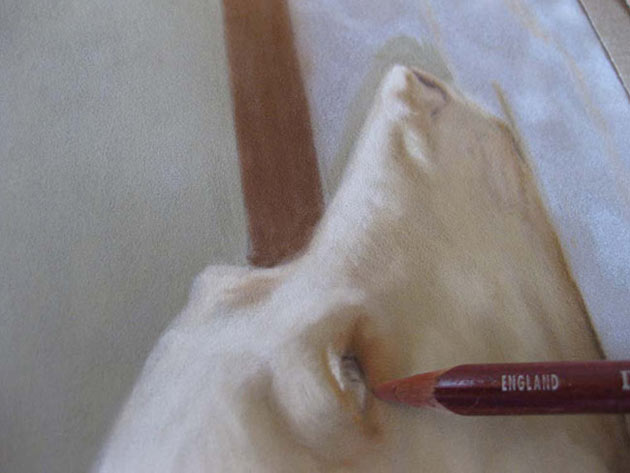
Next I work on correcting the shape of the ear and adding some definition to it. I use a combination of pastels and pencils, layering to make it look like an ear. I also go back over the dog with more pastels, making marks in the direction the fur is growing.
I push the values a bit more. 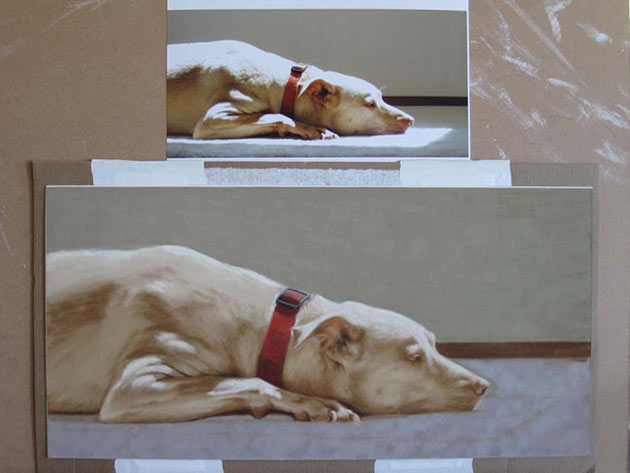
I decide I need a more yellow tone to the fur, so I pull out the appropriate color and add it. 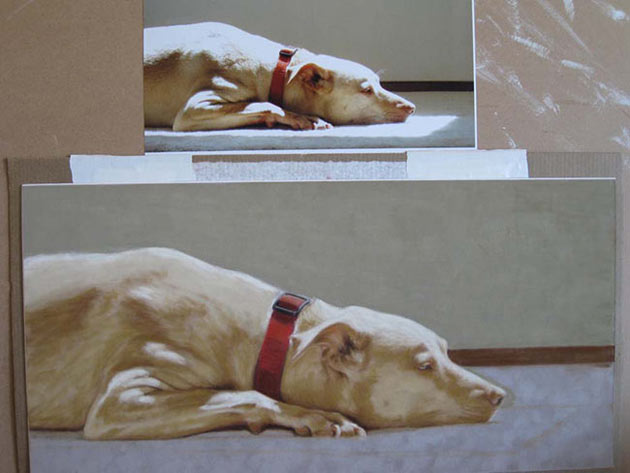
I smooth that out with my finger, then work on adjusting my values again. At this point, I'm almost finished with the dog. I flip the painting upside down because I'm going to scrub a bit on the background and I don't want the background color pastel falling into the fur. I reapply the original color. Then I take the same color the next value darker and paint around the edges. I take a paintbrush and scrub the pastel in a round motion, blending the colors together. 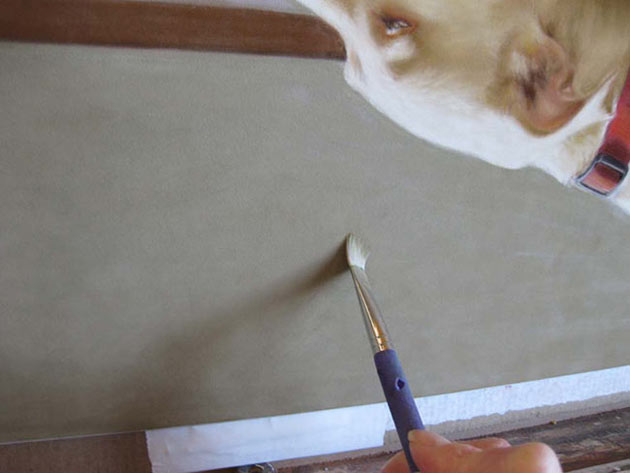
Next I paint in the carpet. Then I paint the light areas on the dog. I just want to add the suggestion of fur. I don't want to draw in every little dog hair and overwork the painting. 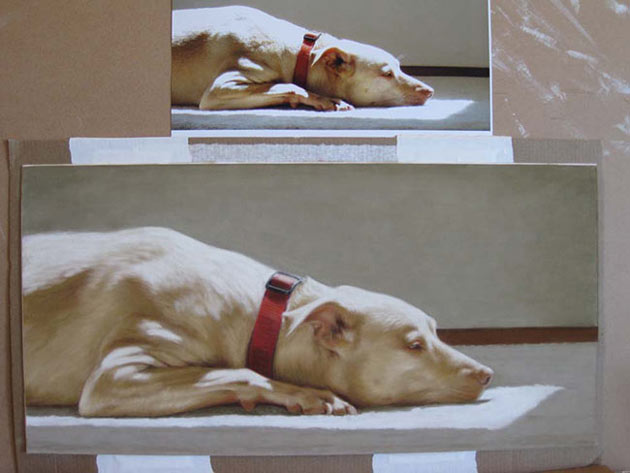
Now I pull out my Terry Ludwig dark pastels (love them!) and paint in the dark areas. 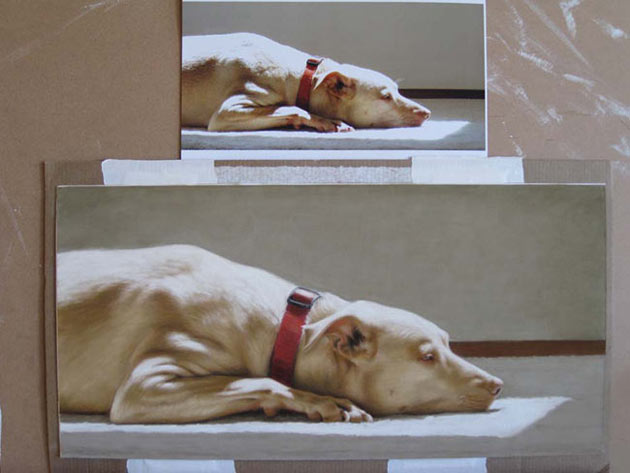
Then I sharpen a dark umber pastel pencil and use it to blend the dark pastel into the lighter areas. Since I want it to look like fur, I drag the pencil in the direction the fur should be going. 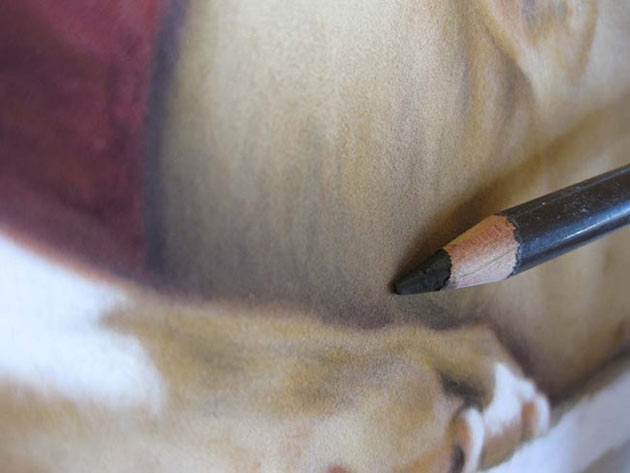
This next step is not for the squeamish. Use it at your own risk! I pull out the vacuum. Holding the nozzle about an inch away from the painting, I wave the nozzle over the entire painting. This pulls up all the loose dust, and little hairs and fibers that fall on the painting. (I also use the vacuum to remove pastel when necessary. It works well with suede matboard, but I don't know that I'd have the guts to try it with any other support.) 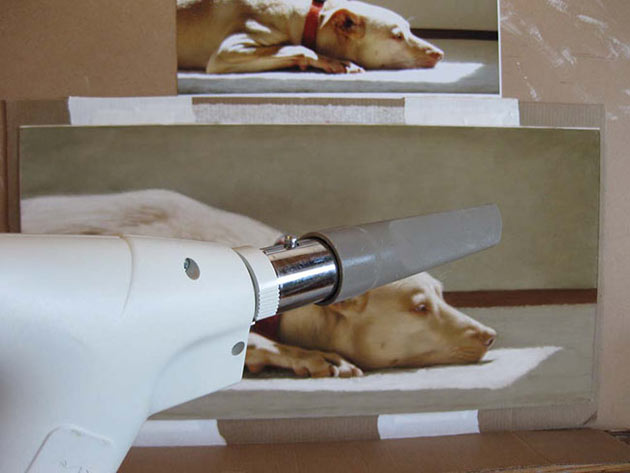
At this point, I look over the painting to make sure nothing needs fixing. I decide it's good enough and sign it. 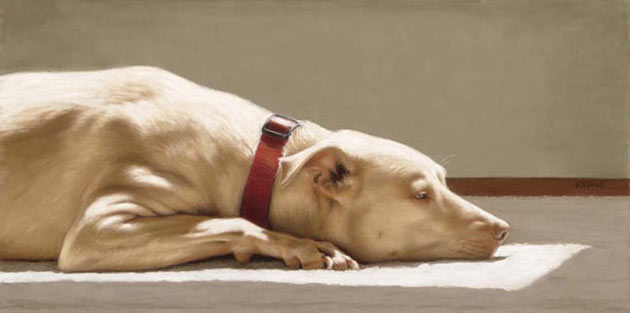
Finished! By Kari Tirrell
|
|||||||||||||||||