LEARN TO PAINT A MOUNTAIN GORILLA |
||||||||||||||||
Oil Painting Wildlife Lesson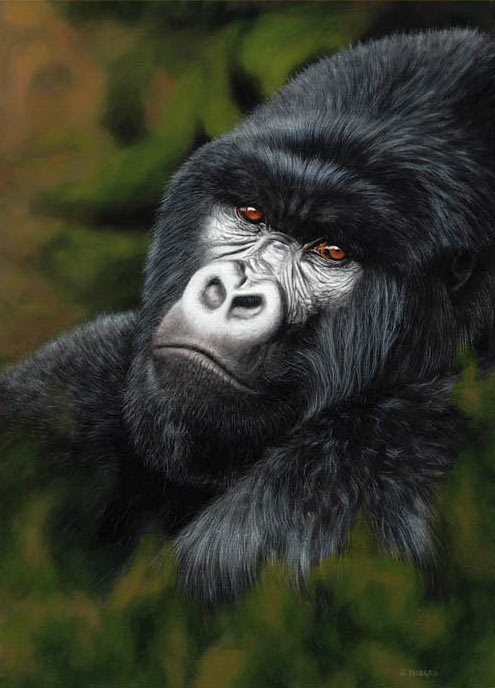
Step One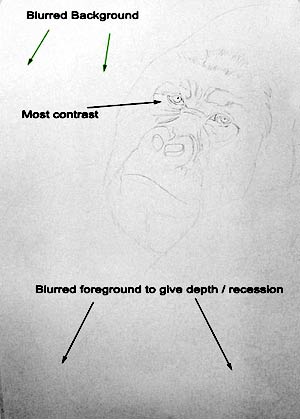
This large painting will certainly need a plan if I am to do the subject justice. The pencil sketch above shows the important things I have in mind to make the eyes the center of interest. Step Two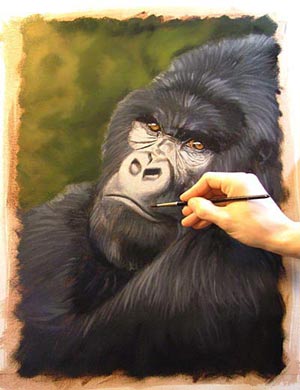
The first stages are always the same no matter what the subject - get some paint on the whole canvas. I don't worry too much about the correct colours, but I do always paint in the direction of fur growth, even at this early stage. As per my usual technique a very thin coat of Liquin painting medium was applied to the whole canvas before I began painting in to it whilst it was still wet - this allows the paint to slide more easily. Step Three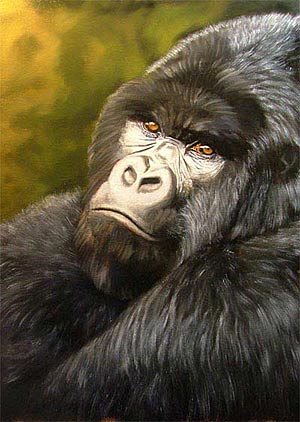
With the first coat blocked in and dry I know paint another thin coat of liquin over the fur area to be painted. I then select one of my old bristle brushes (or age one yourself by rubbing the bristles along glass paper) and dip just the tip into thick oil paint (no liquin) in this instance I used white plus a little ultramarine blue and burnt umber. With a very light touch and flowing strokes I then simulated the first (under-layer) of fur texture. Step Four
This image shows the whole fur area textured, it is obviously much too light at this stage but it will be knocked back with glazes later. Step Five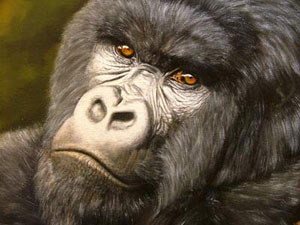
To apply a glaze I once again painted a thin coat of liquin over the fur area, then whilst still wet I glazed a very thin transparent dark over the top, this effectively knocked and subdued the underfur. Step Six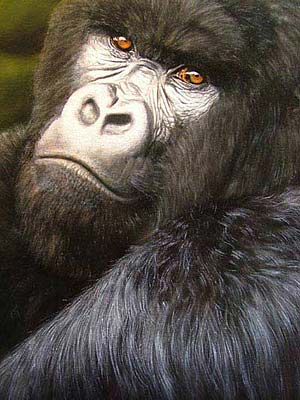
With the underfur knocked back with the glazes in the previous stage (which is now dry) I begin to paint in the fur details (see the shoulder area) this is done following the same technique of liquin then a bristle brush with a little paint on the surface. Step Seven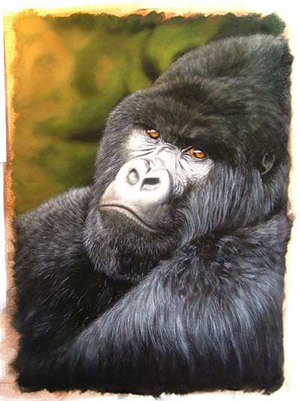
Here you can see 3/4 of the fur has had the second layer of texture applied, to soften the fur in places I very gently brush a soft brush over the top - in the fur direction. Step Eight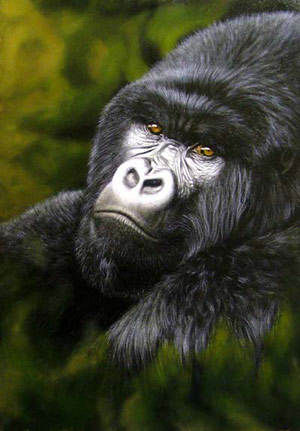
After the second layer of fur texture has been applied and is dry it is then time for more glazes and perhaps another coat of texture in places I feel needs it. I also strengthen the background. Step Nine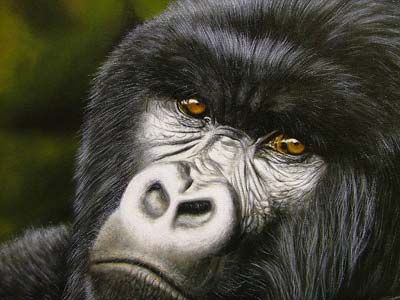
The detail above shows how I have worked into the face again creating more creases and folds and even the tiny hairs in the nasal area, taking time to add these fine details really add punch to the painting.
Heir Apparent went on to raise $1,000 to help the mountain gorillas of Africa! Tutorial is copyright of Jason Morgan
|
||||||||||||||||