Make Your Own PastelsCreating Handmade Pastels, Art Workshop, Part 2 of 2 |
|
||||||||||||||||
|
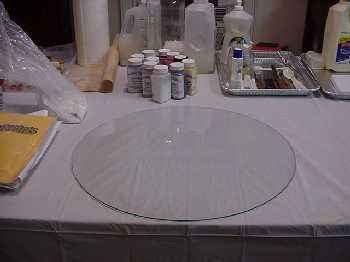
If you need them in a hurry you can try putting them in the oven at 150° F. This way you can test them for the desired softness and if you need to adjust you can. If the color takes easily to a surface, the binder is right, but if your pastel crumbles during drying or breaks under slight pressure, it needs a stronger binder. If the color does not take easily to a surface, the pastel is too hard and a weaker binder is needed. You need to experiment here because some earth colors like terre verte or burnt sienna tend to dry too hard even when they are ground in plain water. However, when they are mixed with a small amount of chalk or black pigment, they become very soft an Keep notes and you will become an expert. Start with a clean glass surface or other non-porous work surface. Measure out the pigment to be used. In this example we are using 2 oz of Ultramarine Blue. 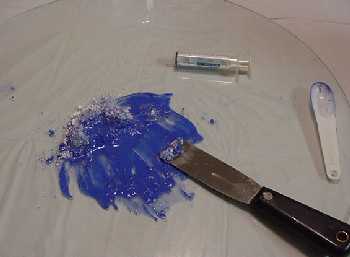
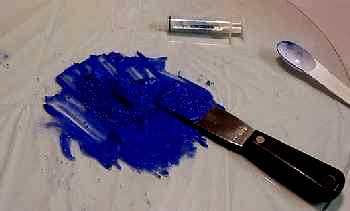
Add a sufficient amount of Solution C. Keep adding the binding solution C by teaspoons until the paste is of the consistency that is dry enough to keep it from adhering to the fingers. Use your putty knife to grind the paste into a smooth cake and then slice the cake into portions to be used as Ultramarine blue pastel sticks and then some to be used to make custom tints or shades. Use the putty knife to grind the pigment into the paste. Finally, the mixture becomes a paste that can be formed into a pastel stick. 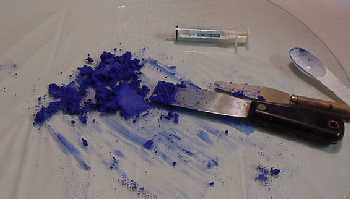
Make notes of your mistakes/adjustments 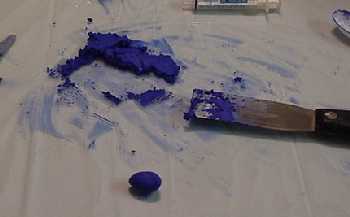
Here I just made a long rope of the pastel paste and cut it into four pieces. 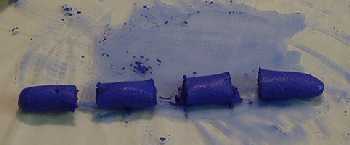
Taking one of the four pieces of my final pastel roll, I begin to mix another custom color by adding white paste. 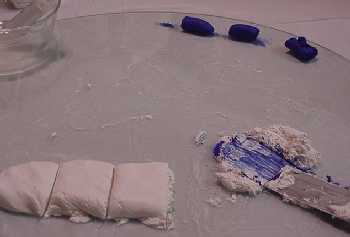
Make notes of your mistakes/adjustments. 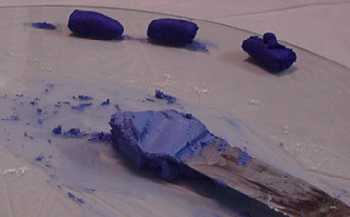
Now roll your new custom color into a long pastel log and cut into four pieces. 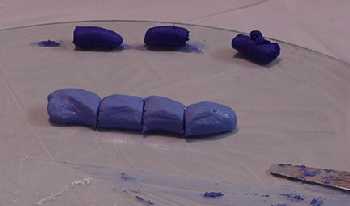
Taking the one custom piece, mix with one of the premade pure white pastel log pieces. You now are going to make another custom color that will be a lighter version of the other two you have already made. Use the putty knife again to smooth the mix and form your new custom pastel color log. 
Make notes of your mistakes/adjustments. 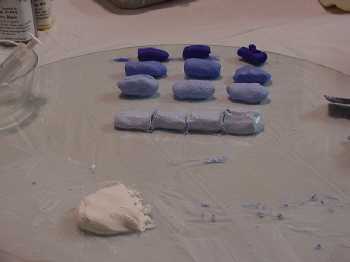

What you end up with is 5 value tints of your color. You can and should use color pigments to grade your custom colors as well. By mixing different pigments together you can make different shades to work with and then create tints from your new custom shades. To take the mixture further with more tints, just mix your custom colors with the next darkest or lightest tint and make an in-between custom color. 
Experiment as noted above with using black paste in place of the white paste or select two pure pigments to experiment with and grade your colors from those two pure pigment mixes. This will produce shades of your original pigment colors and is an excellent way to get those deep dark colors that we all search for. Remember to keep notes on all the different pigments you mix together and what measurement you used. Then you can make that same color again and again. This photograph is showing all the color tints that have been made. Now it is time to make them into the shapes and sizes that you want. Lay them on absorbent paper until some of the moisture has been absorbed then move to wrinkled plastic wrap to dry. Or...you can move them to the oven as previously stated. Store your new custom pastels in boxes that are lined with foam, or use pre-made boxes that you can buy from art supply houses. 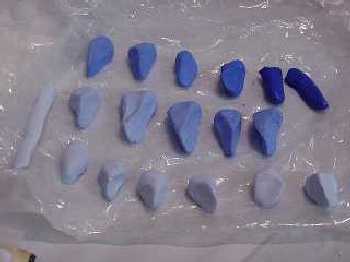
Photograph is of finished pastels made in various shapes for various techniques. I tend to like the triangle shape that I have learned to make because it gives me edges that I like and also fits in my fingers well. Note that the pastels are now drying on a wrinkled plastic sack. If the pastels appear to be really damp, dry them on absorbent paper for an hour or so or place them in a warm oven. Then you can move them to the wrinkled plastic. The wrinkled plastic is good because the pastels will not stick and the wrinkles give a good release surface. When the pastels have completely dried, they will be slightly lighter in color than they are when they wet. Remember, you are the artist here, make your own custom colors and experiment. When you do, send in an image file of your work, along with your name, and we would be honored to include it on a special page attached to this article. Share your color recipes. You may discover a pastel color recipe that all of us would enjoy having. Send to phyllisfranklin@hotmail.com Learning to make pastels was fun. Many thanks to Terry Ludwig, Don Jusko, Rob Howard, Allan Flattman, L. Diane Johnson, and many other pastel artist friends that wish to remain nameless who helped with technical information on these pages. 
The Making Handmade Deb Carroll Phyllis Franklin Carly Clements Back to Part OneBy Phyllis Franklin
|
|||||||||||||||||
 d lay down well.